Create Frameless Burlap Wall Art in Just a Few Steps
Published: 25 Jan 2025
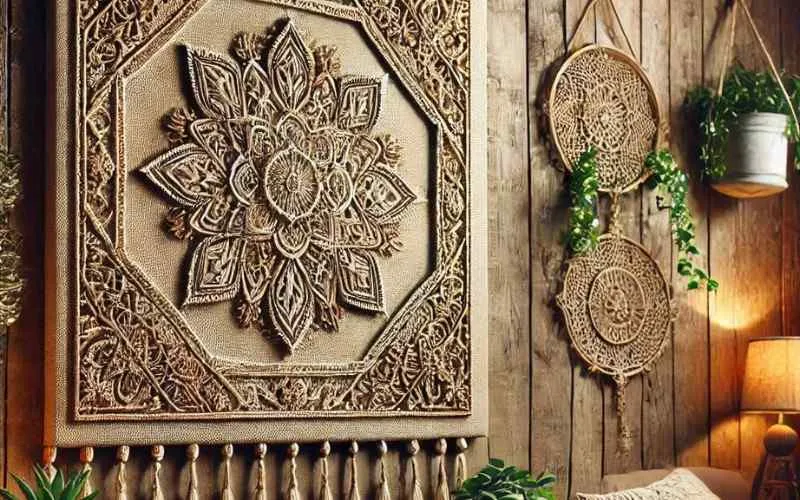
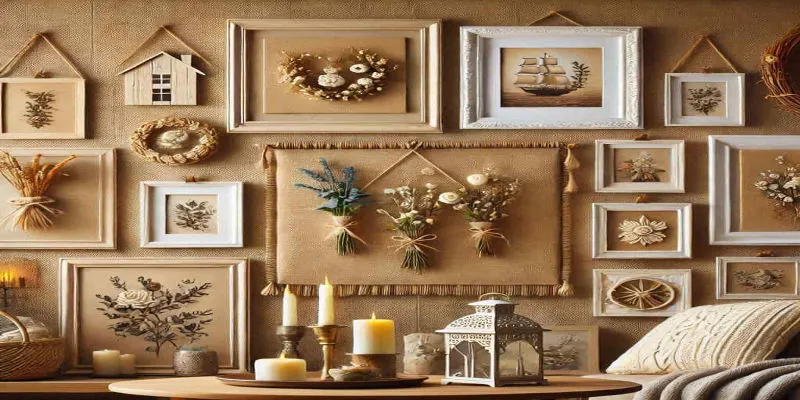
Looking for a fun and budget-friendly way to decorate your walls? DIY burlap hanging wall art is the perfect solution! Burlap is a rustic and versatile material that adds charm to any space. Burlap wall decor or burlap wallpaper gives it a natural look.
In this blog post, you will learn how to create frameless DIY burlap hanging wall art in just a few easy steps. This is an easy way to transform your idea into a stunning home.
Materials Needed for DIY Burlap Wall Hanging Art
Before making this decorating wall art, gather all the materials you will need. Here’s a simple breakdown:
Main Materials
- Burlap Fabric: Choose a size that fits your wall space. Burlap gives your art a rustic, natural look.
- Wooden Dowels or Sticks: These will help keep your wall art sturdy and easy to hang.
- Twine or Jute String: Perfect for creating a hanging loop and adding a decorative touch.
- Hot Glue Gun and Glue Sticks: You’ll use these to attach the dowels and secure other parts of your design.
Optional Materials
- Stencils or Stamps: Add patterns or words to personalize your artwork.
- Acrylic Paint: Great for adding color or painting your favorite designs.
- Decorative Accents: Items like beads, lace, or dried flowers can make your burlap wall decor even more special.
Pro Tip
Choose high-quality burlap to avoid fraying. It will make your project last longer and look more polished.
Step-by-Step Instructions for DIY Burlap Hanging Wall Art (Frameless)
This simple, step-by-step guide teaches how to create stunning DIY burlap wall hanging art. It is easy and fun, from preparing the burlap to adding personal touches.
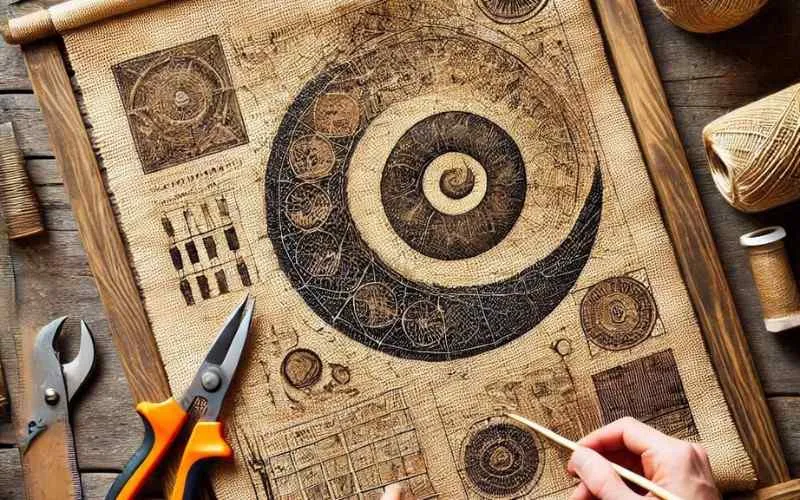
Step 1: Preparing the Burlap
Start by deciding the size you want for your burlap wall art. Carefully cut the burlap fabric to your desired size using scissors. To keep the edges from fraying, apply fabric tape along the sides or dab a little clear nail polish on the edges. This will make your artwork last longer and look more polished.
Step 2: Adding Personal Touches
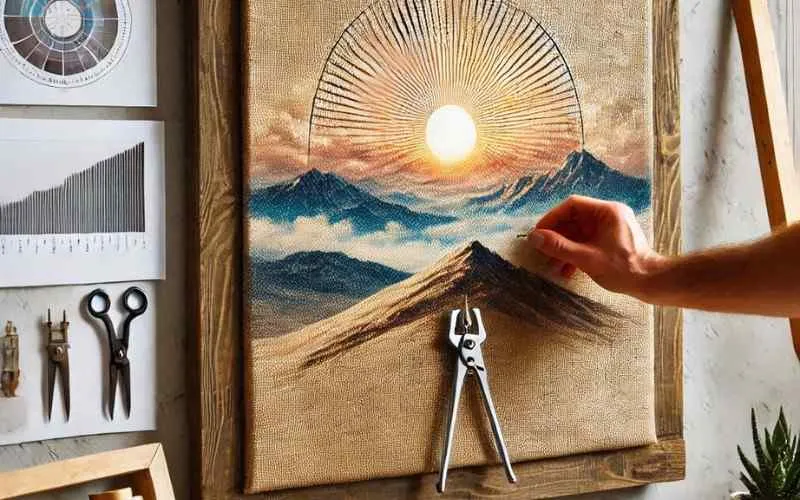
This is where your creativity shines! Use stencils or freehand designs to decorate the burlap. You can paint a motivational quote, a family name, or a simple floral pattern. Want to try something unique? Go for geometric shapes or nature-inspired designs.
Remember, let the paint dry completely before moving on to the next step to avoid smudges.
Step 3: Attaching Wooden Dowels
Attach wooden dowels to the top and bottom edges of the burlap, using a hot glue gun, to give your artwork a sturdy base. For a clean finish, roll the edges of the burlap over the dowels and glue them securely. This keeps your artwork in place and gives it a professional, frameless look.

Step 4: Creating the Hanging Mechanism
Finally, tie a piece of twine to each end of the top dowel. Adjust the length of the twine to ensure your burlap wall art hangs evenly and straight. Once it’s ready, test the hanging mechanism by holding it up before mounting it on the wall.
Step 5: Finishing Touches
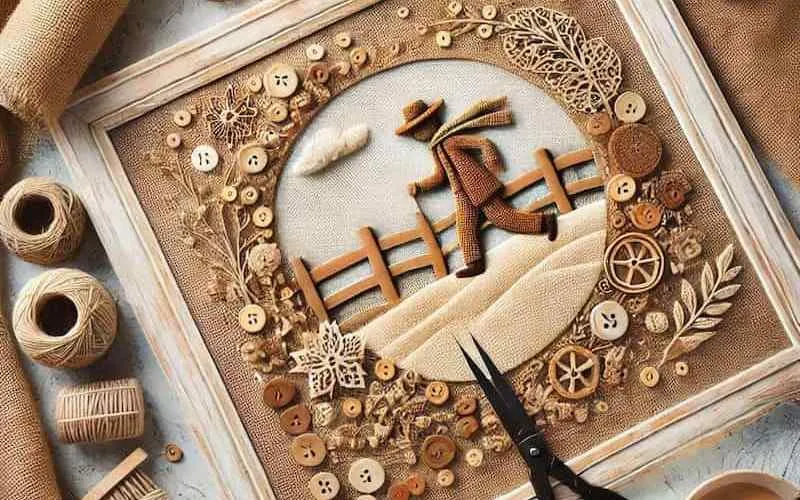
Now, it is time to make your burlap on the wall genuinely unique. Add decorations like lace trim for a light touch or tiny beads to create a pop of texture. You can attach dried flowers, buttons, or ribbons for extra charm. These little details give your piece a personal and polished look, making it stand out as a one-of-a-kind creation.

Tips for Displaying Your Burlap Wall Art
Once you’ve finished your beautiful burlap wall decor, it’s time to find the perfect spot to showcase it. Here are some simple ideas to make your frameless DIY piece stand out.
Placement Burlap Wall Decor Ideas
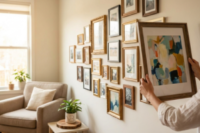
- Above a Desk or Bed: Hang your burlap on the walls above your desk for an inspiring workspace or over your bed to create a cozy, rustic vibe.
- In a Cozy Reading Nook: Add it to your reading corner for a warm and inviting touch. Pair it with soft cushions and a throw blanket to complete the look.
Lighting Suggestions
Soft LED Lights: Use LED strips or fairy lights to highlight your wall art. The soft glow will enhance the natural texture of the burlap and create a welcoming ambiance. This is especially great for evenings or dimly lit rooms.
Burlap on Walls Design: A Rustic and Stylish Touch
Adding burlap on walls is a creative way to bring warmth and texture to any room. This natural fabric gives a rustic charm that works well in farmhouse, boho, and vintage-style interiors. The burlap wall covering is complete, or you can create DIY burlap hanging wall art frameless; it adds a cozy and handmade feel to your space.
Ways to Use Burlap for Wall Design:
- Burlap Wallpaper Alternative: Instead of traditional wallpaper, burlap fabric can be stretched and glued to walls for a unique, textured look.
- Hanging Burlap Panels: Frame large pieces of burlap or hang them with wooden dowels for a simple and stylish wall accent.
- Burlap Wall Art: Create custom designs painted burlap walls, stencils, or embroidery for a personalized touch.
Burlap is lightweight, affordable, and easy to work with, making it an excellent choice for DIY home decor. A burlap wall design adds a natural and timeless appeal when decorating a living room art ideas, bedroom, or office.
Real-Life Examples for Inspiration
If you are looking for burlap wall decor ideas to make your DIY hanging wall art frameless stand out, these examples will spark your creativity.
Example 1: Minimalist Design with a Monogram
Add a bold monogram to your burlap wall decor to create a clean and simple look. Use stencils and black paint to craft a stylish initial, perfect for a modern or rustic home. This is a simple idea that adds a unique touch to your walls.
Example 2: Boho Style with Feathers and Fringe
Decorate your burlap piece with feathers, fringe, and soft pastel colors for a trendy bohemian style. Add some macramé or beads to enhance the texture. This style works great in living rooms or bedrooms where you want a cozy, relaxed atmosphere.
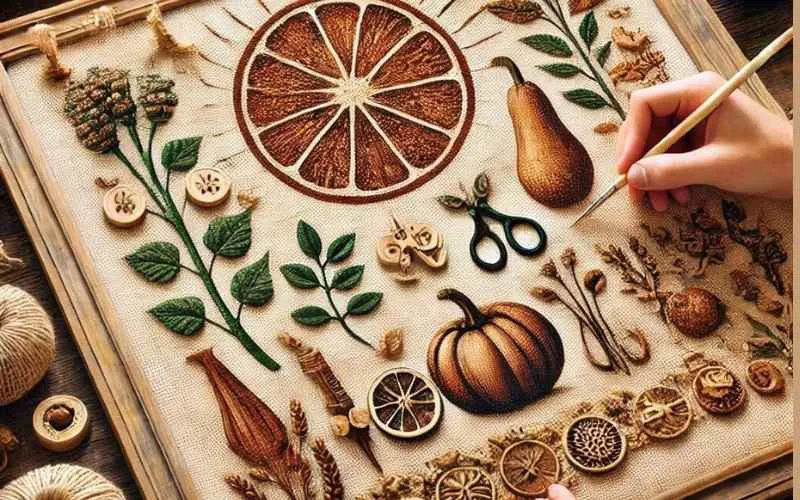
Example 3: Nature-Inspired Design with Pressed Flowers
Bring including pressed flowers or leaves in your burlap art. Use earthy colors and natural accents like twigs or small stones for a fresh and organic design. This idea is perfect for nature lovers who want unique burlap wallpaper vibes in their decor.
Conclusion
Recap: You have learned how to create your own frameless DIY burlap hanging wall art in just a few easy steps. This project is both fun and rewarding, from preparing the burlap to adding personal touches and finishing with a simple hanging mechanism.
Now that you have created your beautiful burlap wall decor, share your designs with us! Post your photos on social media and tag us, or leave a comment below telling us what design you’d like to try next. We had love to see your creative ideas.
Remember, DIY projects are all about creativity and having fun! Do not worry if your burlap on the wall is imperfect—those little faults give it a unique, handmade charm. Keep testing, and let your creativity run wild with burlap.
People Also Ask About DIY Burlap Hanging Wall Art Frameless
Use a medium-weight burlap that’s sturdy but not too thick. This will help prevent fraying while still being easy to work with. You can find it at most craft stores or online.
Washing burlap is not recommended, as it can shrink and lose its shape. Instead, gently dust it with a soft cloth to keep it clean. If needed, lightly spot clean with a damp cloth.
Use fabric tape or clear nail polish on the edges to stop fraying. Alternatively, sew the edges or apply fabric stiffener for added durability. This will keep your burlap looking neat.
Yes! Acrylic paint works best on burlap and dries quickly. You can stencil designs or create your own patterns for a personalized look.
Attach the twine securely to both ends of the top dowel. You can also adjust the length of the twine to balance the artwork. Test it before hanging it to ensure it stays level.
Absolutely! Add beads, lace, pressed flowers, or ribbons to decorate your burlap. Get creative with decorations to give your art a personal touch.
Consider applying fabric stiffener or ironing on interfacing to firm up the burlap on the walls. This helps it hold its shape for longer, especially if you’re hanging it in high-traffic areas.
Burlap wall art looks great in living rooms, bedrooms, or kitchens. To add rustic charm, consider hanging it above your bed, desk, or cozy reading nook.
Yes! Use more significant pieces of burlap and attach them to bigger wooden dowels or sticks. You can create a stunning, oversized piece without needing a frame.
You can hang it with a decorative hook, use a simple nail, or even suspend it from a branch for a boho look. Experiment with different displays to see what best suits your style.


- Be Respectful
- Stay Relevant
- Stay Positive
- True Feedback
- Encourage Discussion
- Avoid Spamming
- No Fake News
- Don't Copy-Paste
- No Personal Attacks
- Be Respectful
- Stay Relevant
- Stay Positive
- True Feedback
- Encourage Discussion
- Avoid Spamming
- No Fake News
- Don't Copy-Paste
- No Personal Attacks
