How to Paint Big Letters on a Wall: A Beginner’s Guide
Published: 26 Jan 2025
Painting letters on a big wall is an easy and stylish way to decorate your walls for your home, business, or office. This trend is perfect for creating eye-catching designs, from motivational quotes to bold signage.
Do not worry if you are a beginner, this process is simple and fun! In this blog post, you will learn how to paint letters on a big wall through the steps, tools, and tips to help you paint beautiful letters on any wall. Follow these steps: Make the job simpler than you think.
Materials and Tools Needed
Having the right materials and tools is essential before you start painting letters on a big wall. Proper materials and tools make the process smoother and ensure your design looks professional. Here’s what you’ll need:
Basic Tools
These are the must-haves for any wall lettering project:
Paint: Choose a high-quality wall paint. The best paint is durable, dries quickly, and works excellent for detailed designs.
Brushes: Use a variety of brushes, including:
- Flat brushes: Ideal for filling large areas.
- Round brushes: Perfect for outlining and adding details.
- Detail brushes: Great for small, intricate strokes.
Measuring Tape: This helps you measure and align your design correctly.
Pencil: Use a light pencil to sketch the letters before painting. This makes corrections easier.
Level: Ensures your letters are straight and evenly spaced, preventing crooked lines.
Optional Tools
These tools are helpful but not necessary, especially if you’re a beginner:
Stencils: If freehand isn’t your style, stencils provide precise and consistent letter shapes.
Projector: A projector can display your lettering directly on the wall for large designs. Trace over the projected image for a perfect outline.
Masking Tape: Create clean edges or borders around your letters.
Examples of the Right Brushes for Wall Lettering
Using the correct brush type can make a big difference:
- For bold, large letters, a flat brush ensures even strokes.
- For rounded or cursive fonts, round brushes give smoother curves.
- For outlining and fine details, use a thin detail brush to avoid smudging or overspreading paint.
Step-by-Step Guide to Painting Letters on a Big Wall
Following these steps will create a stunning wall design that looks professional, even if you are a beginner. Each step is simple, yet they all produce a polished and impressive final result.
Step 1: Choose Your Design
Before you begin painting, decide on the design you want to create. This includes choosing the right font for your letters.
- Selecting a Font: Start with simple and bold fonts like Arial or Times New Roman, which are easier to paint, especially for beginners. Complex script fonts, while beautiful, can be tricky to replicate and may require more precision and time.
- Example: Imagine painting “Dream Big” in Arial instead of cursive script—Arial will save you effort and still look professional.
Step 2: Prepare Your Wall
A well-prepped wall ensures a smooth and clean finish for your lettering.
- Cleaning the Surface: Use a damp cloth or sponge to clean dirt, dust, or grease off the wall. This step is crucial because a dirty surface can make the paint uneven or peel over time.
- Example: Think of it as preparing a canvas. A clean wall allows the paint to adhere correctly, producing a final look.
Step 3: Measure and Mark the Wall
Accuracy is key when painting letters on a large wall. Proper measurements help you keep the design aligned and proportional.
- Using a Measuring Tape and Level: Measure the wall space and decide where each letter will go. Use a level to ensure your lines are straight.
- Tip: Leave enough space between letters and words to avoid overcrowding. For example, space evenly for better readability if you’re writing a long quote.
Step 4: Transfer Your Design
Now, it’s time to hang the design on the wall. You can do this freehand or with stencils.
- Without Stencils: Lightly sketch the letters with a pencil. Use simple shapes and adjust as needed before painting.
- With Stencils: If you prefer precise letters, buy or create stencils. Secure them to the wall with tape, ensuring they’re straight before applying paint.
Step 5: Paint the Letters
This is where your design starts to come to life.
- Choosing Paint: Acrylic paint is an excellent choice for walls. It dries quickly, lasts long, and comes in various vibrant colors. For quicker coverage, you might need larger brushes or rollers for bigger projects.
- Example: Painting with acrylics can help you achieve bold and clean letters that pop against the wall background.
Step 6: Add Final Touches
The final touches are what transform a good design into a masterpiece.
- Outline Letters: Use a thin brush to outline the letters once the paint dries. This step enhances their appearance and makes them stand out.
- Tip: Use a contrasting color for the outline. For example, if your letters are white, a black or red outline can make them more striking and professional-looking.
Tips and Tricks for Beginners
A few simple tips can make the process smoother when painting letters on a big wall art. Here’s how beginners can set up for success:
Start Small Projects
It’s always a good idea to begin a smaller project before tackling a large wall. This could mean practising on a canvas, a wooden board, or a wall section. Starting small helps you get comfortable with the tools, paint, and techniques. You will also learn to handle brushes, control strokes, and adjust paint consistency. Think of it as a warm-up for the big project
Use a Projector
For more extensive or more detailed designs, a projector is a game-changer. It lets you project your chosen design or lettering directly onto the wall. Once projected, you can trace the outline with a pencil or light chalk before painting. This method ensures precision and symmetry, making it ideal for beginners who might find freehand drawing intimidating. Plus, it saves time and reduces errors.
Patience is Key
- Take your time to outline, paint, and adjust.
- Avoid rushing to prevent mistakes like uneven lines or smudges.
- Step back periodically to review progress and ensure balance.
- Enjoy the process for better results.
A Beginner’s Success Story
A first-time painter, Mrs Sarah wanted to add an inspiring quote to her bedroom wall. She started by practising her lettering on a small wooden board, getting the hang of using brushes and controlling paint thickness.
She used a projector to trace the letters for her wall project and took her time filling in each one carefully. The result? A stunning, professional-looking mural that transformed her room. This story shows how starting small, using the right tools, and taking it slow can lead to excellent results.
| Common Mistakes to Avoid When Painting Letters on a Big Wall |
|---|
|
Avoiding these common mistakes ensures your wall lettering looks professional and clean.
|
How to Paint Letters on a Big Wall Without Stencils
Painting letters freehand on a big wall can seem challenging, but it becomes a fun and creative process with the right approach. Here’s a step-by-step guide on how to do it:
Freehand Method: Drawing Directly on the Wall
The freehand method lets you draw letters directly onto the wall without using stencils. Here’s how to go about it:
Step 1: Choose Your Design: Start by deciding on the font and size of your letters. Please keep it simple, especially for beginners. Bold and clear fonts like Arial or Helvetica are easier to paint freehand.
Step 2: Use a Light Pencil Outline: Lightly sketch your letters on the wall with a pencil before painting. This will give you a guide to follow and help avoid mistakes. Ensure the outline is clear but not too dark so it’s easy to erase.
Step 3: Trace Over the Pencil Lines: Use your paint and a small brush to carefully follow the pencil lines once your letters are outlined. Take your time, ensuring the paint is applied evenly and smoothly.
Tip: Use a Pencil for Light Outlines Before Painting
One of the best tips for beginners is to use a pencil to create a light outline of your design before applying paint. This will help you:
Stay on Track: It acts as a guide, so you don’t accidentally paint outside the lines.
Quickly Fix Mistakes: If you make a mistake with the pencil outline, it’s easy to erase and start again without ruining the wall.
Ensure Proper Alignment: When working on a large wall, it can be hard to keep everything aligned. The pencil outlines will ensure the letters are evenly spaced and placed correctly.
Wall Writing Design Ideas
Wall writing can transform a plain wall into an eye-catching focal point. If you want to inspire, motivate, or decorate, your design choices will set the tone for the entire space. Here are some popular ideas to help you get started:
1. Quotes and Sayings
One of the most popular ways to use wall writing is by adding motivational or fun quotes to your wall. These quotes can be a great reminder to stay positive, work hard, or add personality to a space. You can choose short and sweet sayings, like “Live Laugh Love,” or something more meaningful, such as a line from your favourite book or a personal motto.
Why It is Great: Quotes are easy to relate to and can make a space feel friendly and welcoming. They can reflect your personality or values and serve as a daily inspiration for anyone who sees them.
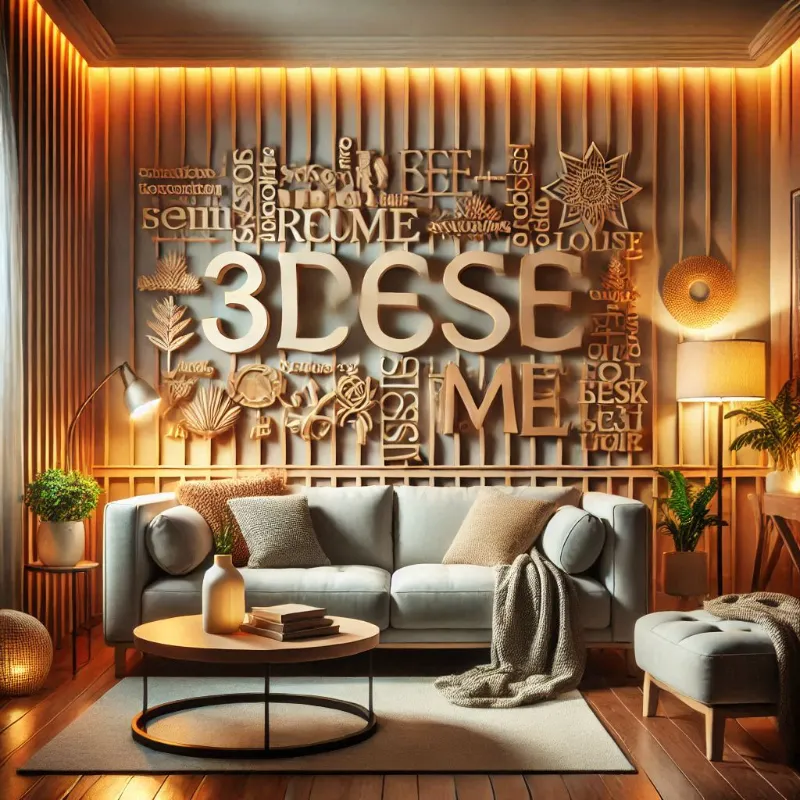
Example: A cosy living room with the quote “Believe in yourself” painted above the couch. It adds character to the room and gives it a positive vibe.
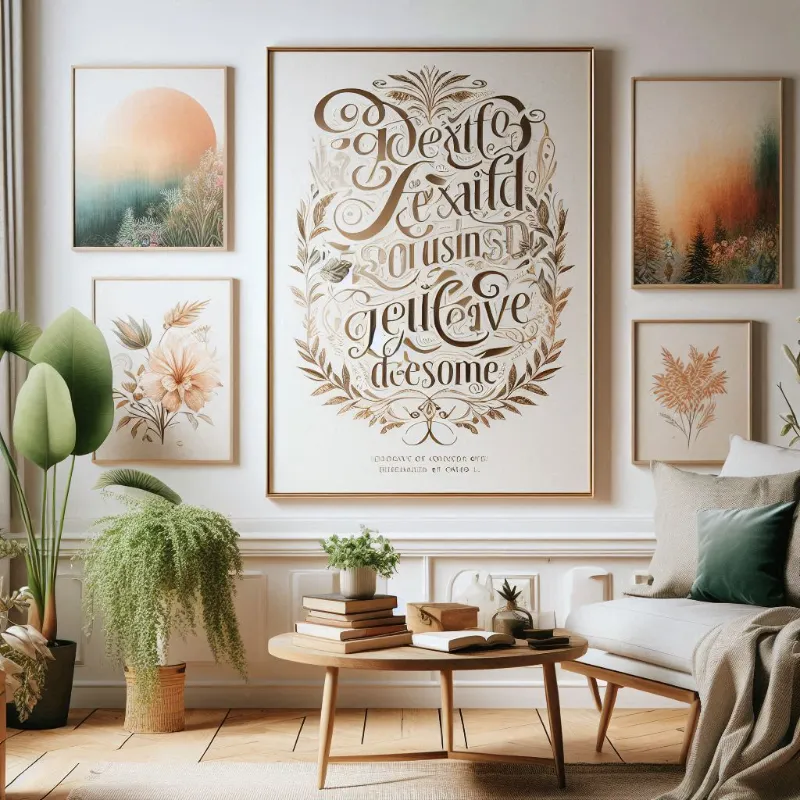
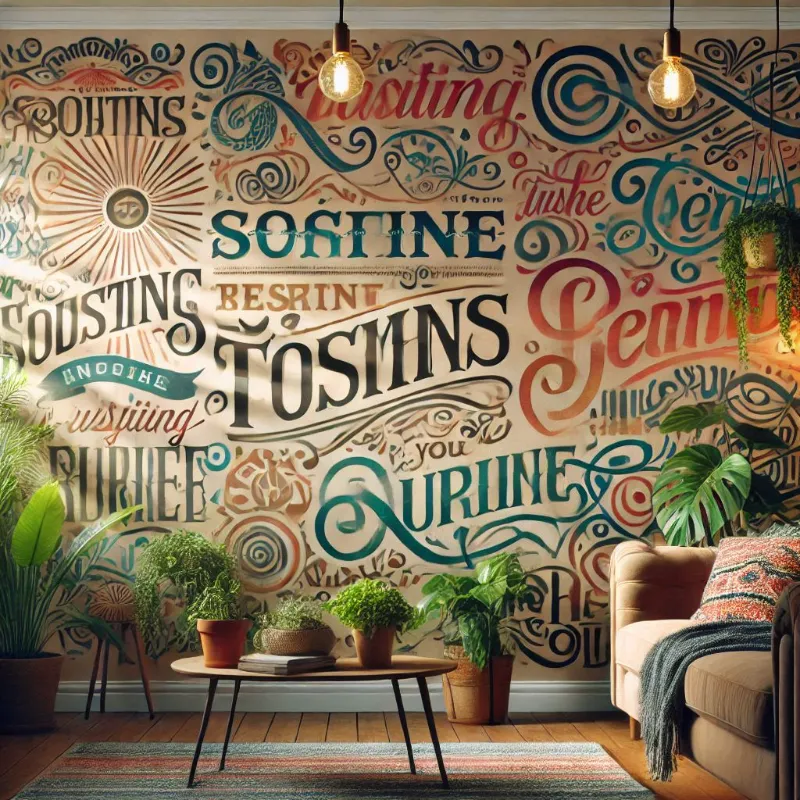
2. Decorative Fonts
Using large decorative letters for your wall writing creates a stylish and bold statement. Depending on the style you want for the space, you can choose from various fonts, from modern and sleek to classic and ornate. Decorative fonts can turn your wall into a piece of wall writing art with intricate designs or simple but eye-catching typography.
Why It’s Great: Decorative fonts look beautiful and add an artistic touch to the wall writing design. If you use it for a quote or a simple phrase, these fonts can add a creative flair to the room.
Example: A bedroom with the word “Dream” painted in large, whimsical, cursive letters. The soft, flowing font creates a relaxing environment for a restful space.
Conclusion
So guys, in this article, we’ve covered how to paint letters on a big wall in detail. If you’re a beginner, I highly recommend starting a small project to get comfortable with the process before taking on an enormous wall. It’s fun, creative, and a great way to add personality to any space! Don’t forget to share your results with us in the comments or ask any questions.
FAQ
Yes, you can paint letters on a textured wall, but it can be trickier. Use thicker paint and a smaller brush to get into the grooves. You may need extra patience to make sure the paint goes on evenly.
Simple, bold fonts like Arial or Helvetica are great for beginners. They have straight lines and easy shapes to paint. These fonts are less likely to get messy and help you build confidence.
Yes, spray paint can be used for large letters but requires good control. Practice first to avoid uneven spraying or drips. It’s best for outdoor murals or big signs, where smooth coverage is key.
You can make big letters by printing a design on paper and then enlarging it. Another method is to use a projector to project the design onto the wall, which you can trace. Or, use masking tape to outline the letters directly on the wall.
First, plan your design and outline the letters with a pencil. Use painter’s tape to keep lines straight, and fill in the letters with your chosen paint.
Yes, you can add a small painting to a big wall, but it’s best to balance the space. Consider adding other smaller pieces or covering it with accents to make it stand out.
To stencil letters on a wall, first tape your stencil to the wall in the desired position. Use a small sponge or brush to apply paint inside the stencil. Remove the stencil attentively.


- Be Respectful
- Stay Relevant
- Stay Positive
- True Feedback
- Encourage Discussion
- Avoid Spamming
- No Fake News
- Don't Copy-Paste
- No Personal Attacks
- Be Respectful
- Stay Relevant
- Stay Positive
- True Feedback
- Encourage Discussion
- Avoid Spamming
- No Fake News
- Don't Copy-Paste
- No Personal Attacks
