Cedar Ceiling Ideas, Price & Benefits – Everything You Need
Published: 24 Feb 2025
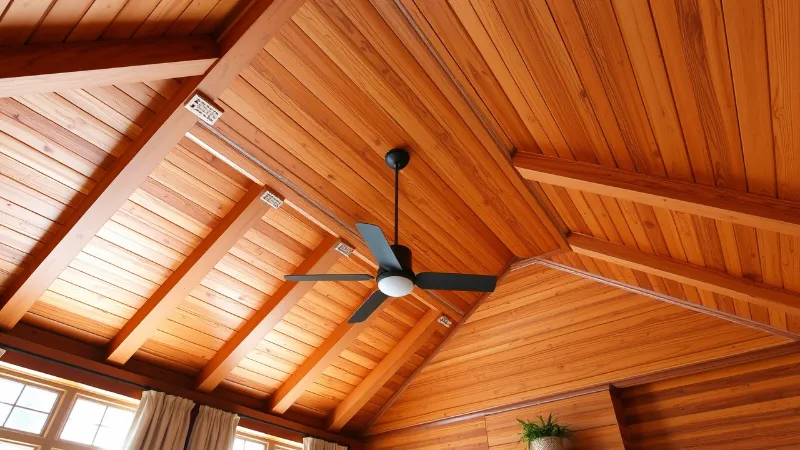
Are you thinking of upgrading your ceiling? A cedar ceiling is a perfect way to add warmth, beauty, and durability to any space. Whether you want a cozy tongue-and-groove cedar ceiling for your living room or bathroom, this natural wood brings charm and long-lasting strength. Cedar is not just about looks—it resists moisture, fights insects, and lasts for years. This guide explores stunning cedar ceiling ideas, installation tips, costs, and more.
What is a Cedar Ceiling?
A cedar ceiling is a stylish and durable choice for homes. It is made from cedar wood, which is known for its rich color, pleasant scent, and natural strength. Many homeowners prefer Cedar because it lasts long and adds warmth to any space.
How is Cedar Different from Pine?
Cedar and pine ceilings are both popular, but Cedar has extra benefits. Unlike pine, Cedar is naturally resistant to moisture, insects, and rot. It also has a richer grain pattern and a unique aroma that keeps pests away. While pine ceilings may need extra treatment, Cedar stays strong with little maintenance.
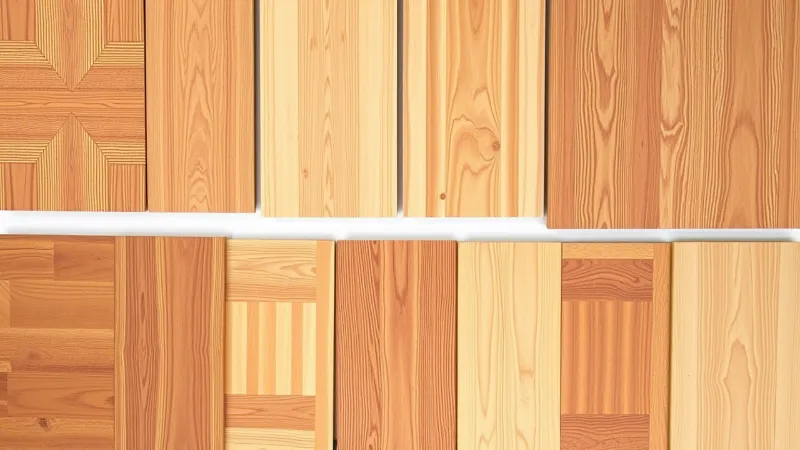
Types of Cedar Wood Used for Ceilings
There are different types of cedar wood used in ceilings:
- Western Red Cedar: Popular for its deep color and strong resistance to decay.
- White Cedar: Lighter tone, perfect for a modern white cedar ceiling.
- Aromatic Cedar: Has a strong scent that helps repel insects.
Natural Benefits of Cedar Ceilings
A cedar ceiling is more than just beautiful. It has natural insulation properties, keeping rooms cooler in summer and warmer in winter. It also absorbs moisture, making it an excellent choice for cedar bathroom ceilings. Plus, its insect-repelling qualities help prevent damage over time.

Benefits of Cedar Ceilings
1. Aesthetic Appeal
A cedar ceiling adds natural beauty to any space. The rich grain patterns and warm tones make rooms feel cozy and elegant. To match your style, you can choose from different cedar ceiling colors, like light honey or deep reddish-brown. Prefer cedar ceiling panels or a white cedar ceiling. Each option brings a unique charm to your home.
2. Durability & Resistance
Cedar is one of the strongest woods for ceilings. Western red cedar ceilings are naturally resistant to rot, mold, and insects. Unlike other materials, they do not warp or crack easily, making them a long-lasting choice for both indoor and outdoor spaces.
3. Moisture Control
Are you worried about humidity? A cedar ceiling in the bathroom is a great idea! Cedar absorbs excess moisture and prevents mold buildup, helping keep your bathroom fresh and dry. Many homeowners prefer cedar tongue-and-groove for a stylish and functional ceiling in damp areas.
4. Eco-Friendly Choice
Cedar is a sustainable and biodegradable material. It is harvested responsibly, making it an environmentally friendly option. Choosing a cedar porch ceiling or cedar ceiling planks means you are using a natural, renewable resource.
Popular 5 Cedar Ceiling Ideas
Looking for the best cedar ceiling ideas? If you want a rustic look or a modern touch, there are many ways to use cedar for your ceiling. Let’s explore some top options.
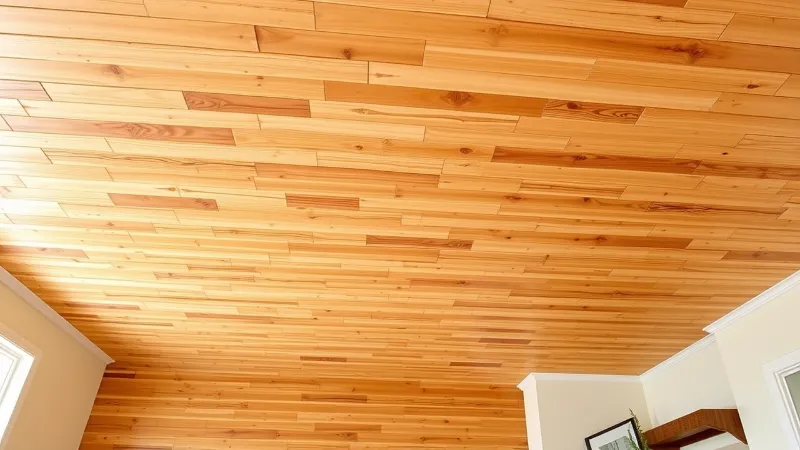
1. Cedar Ceiling Panels
Cedar ceiling panels come in two types: prefinished and unfinished. Prefinished panels save time because they are already stained or sealed, making them great for quick and easy installation. Unfinished panels give you more control over the final look, as you can stain or seal them to match your style. Both options add warmth and charm to any space.
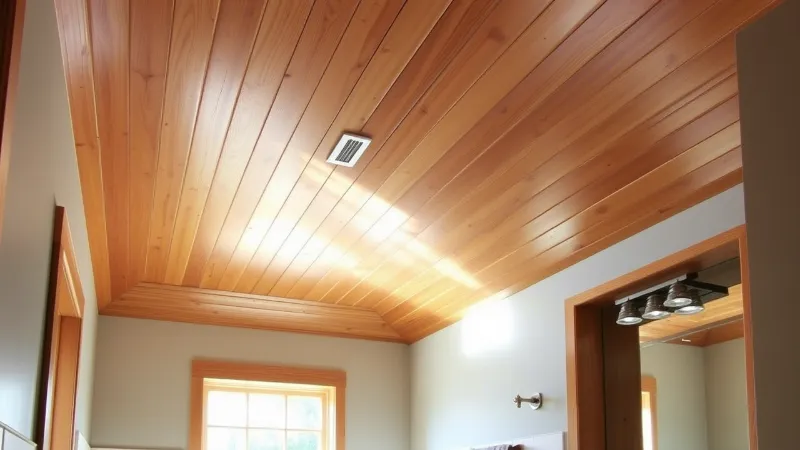
2. Tongue and Groove Cedar Ceiling
A tongue and groove cedar ceiling is popular for its clean and seamless look. The boards fit together tightly, making installation simple. This design also helps prevent gaps and adds a smooth, professional finish. It is perfect for living room artwork ideas, bedrooms, and even covered porches.
3. Cedar Ceiling in Bathrooms
Yes, you can have a cedar ceiling in the bathroom. Cedar naturally resists moisture, but sealing it properly is essential. Use a good waterproof finish to protect the wood from steam and humidity. A cedar ceiling in the bathroom adds warmth and a spa-like feel to the space.
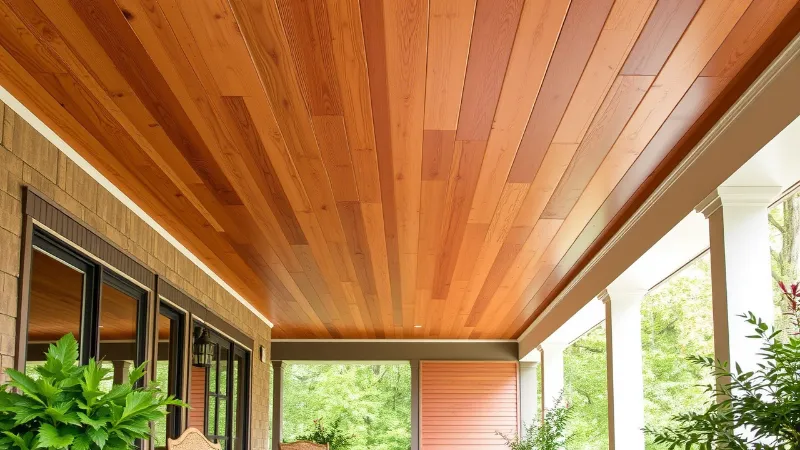
4. Cedar Porch Ceiling Ideas
A cedar porch ceiling makes outdoor spaces look elegant and inviting. Cedar stands up well to weather, but using a protective sealant helps it last even longer. For a classic look, choose cedar tongue and groove boards. If you prefer a modern touch, try wide cedar ceiling planks.
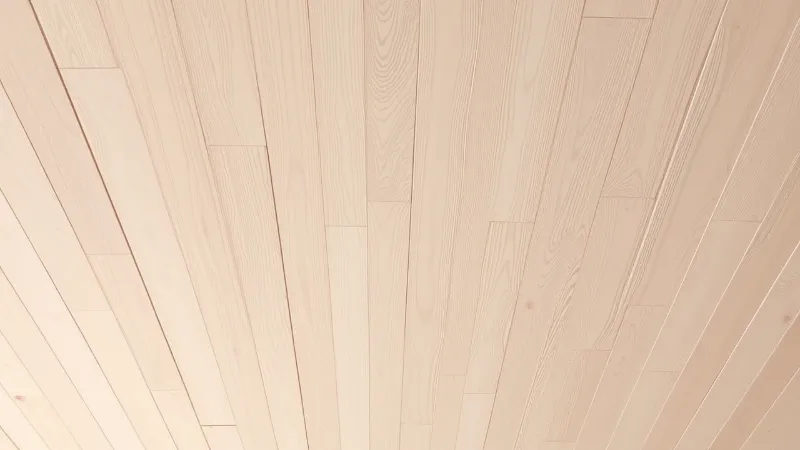
5. White Cedar Ceiling
A white cedar ceiling is an excellent option for those who love a light and airy feel. Whitewashing or painting cedar gives it a fresh, modern style while keeping its natural grain visible. This type of ceiling works well in homes with a farmhouse or coastal design.
Each cedar ceiling idea offers something unique. If you choose cedar ceiling panels, tongue and groove, or a cedar porch ceiling, you’ll get a beautiful, durable ceiling that enhances your space.
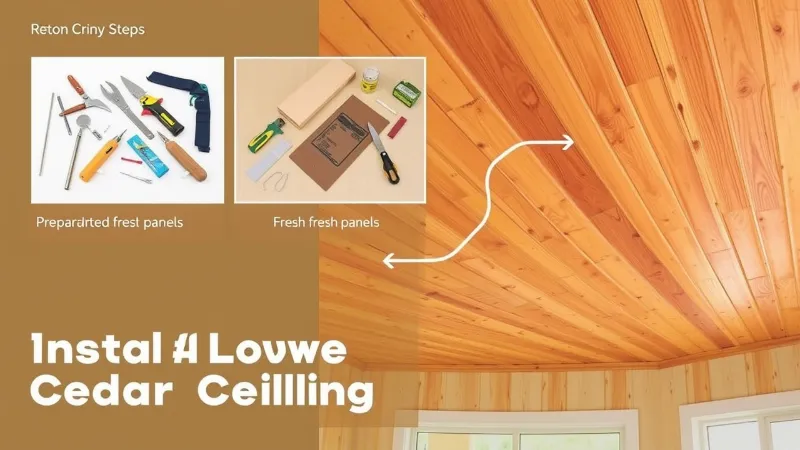
How to Install a Cedar Ceiling
Installing a cedar ceiling is easier than you think! With the right tools and a simple step-by-step process, you can give your space a natural, stylish look. Let’s go through everything you need.
Tools and Materials Needed
Before you start, gather these supplies:
✔ Cedar ceiling planks (choose tongue and groove cedar ceiling for a smooth finish)
✔ Measuring tape and level
✔ Nails or screws
✔ Adhesive for extra hold
✔ Saw for cutting planks
✔ Sandpaper for smooth edges
✔ Sealer or stain (to protect the wood)
Step-by-Step Installation
Step 1: Measure and Prepare the Surface
First, measure your ceiling to determine the number of cedar ceiling planks you need. Clean the surface and make sure it’s dry. If needed, install furring strips to create a strong base.
Step 2: Install Cedar Tongue and Groove Boards
Start from one corner. Fit the first cedar tongue and groove the board tightly against the diy feature wall ideas. Nail or screw it in place. Keep adding boards and locking the grooves together. Use a level to ensure straight lines.
Step 3: Finishing and Sealing
Once all the planks are installed, sand the edges for a smooth look. Apply a protective sealer or stain to enhance the cedar ceiling colors and protect against moisture. Let it dry completely.
Cedar Ceiling Price Breakdown
A cedar ceiling is an excellent investment, but how much does it cost? Let’s break it down.
Price Per Square Foot
The cost of cedar ceiling planks varies. On average, it ranges from $4 to $10 per square foot. The final price depends on the type of cedar wood, thickness, and finish.
Factors That Affect Cost
Several things can change the price of a cedar ceiling:
- Wood Type: Western red cedar ceilings are premium and cost more.
- Thickness: Thicker cedar tongue and groove boards are pricier but more durable.
- Finish: Pre-finished cedar ceiling panels save time but cost extra.
- Installation: DIY saves money, but hiring professionals adds to the budget.
Cedar vs. Pine Ceiling: Which is Cheaper?
A pine ceiling is more affordable, costing around $2 to $5 per square foot. But cedar lasts longer and better resists moisture. Cedar ceiling planks are worth the extra cost if you want durability and beauty.
Cedar Ceiling Maintenance Tips
A cedar ceiling looks beautiful but needs care to stay fresh and strong. Here are some simple tips to keep it in top shape.
1. Regular Cleaning and Dusting
Dust and dirt can dull your cedar ceiling panels. To remove dust, use a soft cloth or a vacuum with a brush attachment. For deep cleaning, mix mild soap with water and wipe gently. Avoid harsh chemicals, as they can damage the wood.
2. Best Finishes and Sealants
Applying a sealant protects the wood and keeps the cedar ceiling colors fresh. For a rich, warm look, use natural oil finishes like tung or linseed oil. Clear polyurethane is also a great option for extra protection. If your tongue-and-groove cedar ceiling is in a humid area, choose a moisture-resistant sealant.
3. Preventing Discoloration
Over time, cedar can fade due to sunlight and moisture. To prevent this, use UV-protective finishes. If your cedar ceiling in the bathroom gets too much moisture, install a good ventilation system. This will stop mold and discoloration.
Following these steps, your western red or white cedar ceiling will stay strong and beautiful for years.
Conclusion
A cedar ceiling is a great way to add beauty, warmth, and durability to any space. It resists moisture, lasts for years, and enhances the look of your home. Whether you choose cedar ceiling panels, a tongue and groove cedar ceiling, or a white cedar ceiling, there are many styles to explore. You can install it in your living room, bathroom, or porch.
Looking for ideas? Check out different cedar ceiling colors and designs to find the best match for your home. Have questions or need advice? Share your thoughts in the comments below.
FAQs: Cedar Ceiling
With proper care, a cedar ceiling can last 30 to 50 years. It resists moisture, rot, and insects, making it more durable than other wood ceilings. Regular cleaning and sealing help it last even longer.
Yes, a tongue and groove cedar ceiling fits tightly, reducing gaps and adding strength. It looks seamless, preventing warping over time. Flat panels are easier to install but may not be as durable.
Yes, but proper sealing is important to protect the bathroom’s cedar ceiling from moisture. A water-resistant finish prevents swelling and discoloration. Good ventilation also helps keep it in top shape.
To keep a western red cedar ceiling looking fresh, clean it regularly and apply a UV-protective finish. This prevents fading from sunlight exposure. Avoid harsh chemicals that can damage the wood’s natural color.
Cedarwood is an excellent choice for ceilings because it is durable, moisture-resistant, and naturally beautiful. It also helps control humidity and prevents mold growth. Plus, it adds a warm and stylish look to any space.
Yes, cedar ceiling planks can be more expensive than other woods like pine. However, its durability and low maintenance make it a wise long-term investment. Prices vary based on wood type, thickness, and finish.
The price of a cedar ceiling depends on the type and quality of the wood. On average, it costs $4 to $9 per square foot, but premium options may cost more. The final price also includes installation and finishing costs.


- Be Respectful
- Stay Relevant
- Stay Positive
- True Feedback
- Encourage Discussion
- Avoid Spamming
- No Fake News
- Don't Copy-Paste
- No Personal Attacks
- Be Respectful
- Stay Relevant
- Stay Positive
- True Feedback
- Encourage Discussion
- Avoid Spamming
- No Fake News
- Don't Copy-Paste
- No Personal Attacks
