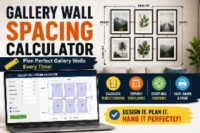
Gallery Wall Spacing Calculator Free for Perfect Frame Layouts Plan
Published: 25 Jun 2026
Before you hang picture frames, you need a clear plan. A gallery wall is a collection of photos, artwork, or decorative frames arranged together on one wall. When the spacing is uneven, even beautiful frames can look messy and unbalanced.
Many people measure by eye or guess the distance between frames. This often leads to crooked layouts, uneven gaps, and extra nail holes. Fixing these mistakes takes time and can even damage your wall.
A gallery wall spacing calculator solves this problem. It helps you choose the right frame spacing, calculate balanced margins, and find the correct hook positions before you start hanging anything. If you are creating a family photo wall, an art display, or a modern home décor feature, this tool helps you build a clean, professional-looking layout with confidence.
What Is a Gallery Wall Spacing Calculator?
Have you ever hung picture frames on a wall and then noticed that the gaps look uneven? This is a common problem. Many people measure frames correctly, but they struggle to keep equal spacing between them.
A gallery wall spacing calculator helps solve this problem. It is an online tool that calculates the best spacing, margins, and frame positions for your wall. You simply enter your wall size, frame size, and layout details. The tool then creates a complete gallery wall plan for you.
Whether you are decorating a living room, bedroom, hallway, or office, a gallery wall spacing calculator online helps you create a clean and balanced display without doing complicated math.
How Does This Tool Help Plan Picture Frame Layouts?
When you create a gallery wall, every inch matters. Small spacing mistakes can make the entire layout look uneven.
A picture spacing calculator helps you plan your layout before you start drilling holes in the wall. It calculates:
- The spacing between picture frames
- Left and right wall margins
- Top and bottom margins
- Frame positions
- Nail or hook locations
- Total wall coverage
For example, imagine you have six family photo frames and a large living room wall. Instead of measuring each gap by hand, you can enter the dimensions into a picture spacing calculator, a free tool, and get instant results.
This saves time and helps prevent costly mistakes.
Why Do Homeowners, DIY Decorators, and Interior Designers Use It?
People use a gallery wall spacing calculator for free because it makes wall decorating easier.
Homeowners
Homeowners use the tool to create beautiful photo walls and art displays. The calculator helps them achieve equal spacing without professional help.
DIY Decorators
DIY projects often involve trial and error. A calculator removes the guesswork. Users can test different layouts and find the best design before hanging frames.
Interior Designers
Professional designers use layout tools to create balanced wall arrangements. Consistent spacing helps a room look organized and visually appealing.
Businesses and Event Planners
Retail stores, offices, galleries, and event spaces also use picture spacing tools to create neat wall displays.
Manual Measurements vs Using a Calculator
Many people try to calculate picture spacing on the wall manually. This method works for simple layouts. However, it becomes difficult when you have multiple frames, custom margins, or large gallery walls.
Manual Method
With manual measurements, you need to:
- Measure the wall.
- Measure every frame.
- Calculate available space.
- Divide the remaining space evenly.
- Mark every frame location.
A small mistake can affect the entire layout.
Using a Gallery Wall Spacing Calculator
A gallery wall spacing calculator in inches performs these calculations automatically.
It can:
- Calculate equal gaps
- Balance margins
- Show frame locations
- Display hook positions
- Create a visual preview
The biggest advantage is accuracy. You can see the layout before hanging anything on the wall.
Why Use a Gallery Wall Spacing Calculator?
A good gallery wall should look balanced from every angle. The right spacing makes artwork, photos, and decorative frames look more professional.
A picture spacing calculator in inches helps you:
- Save time
- Avoid measuring mistakes
- Create equal spacing
- Plan layouts faster
- Improve wall decor
- Hang frames with confidence
Instead of guessing where each frame should go, you can use a gallery wall spacing calculator online to create a complete layout plan in minutes. This makes the decorating process easier, faster, and much more accurate.
How Does a Gallery Wall Spacing Calculator Work?
At first glance, a gallery wall layout may look simple. However, creating equal spacing between frames requires several calculations. You need to consider the wall size, frame dimensions, number of frames, gaps, and margins.
A gallery wall spacing calculator handles all these calculations automatically. Instead of spending time with a tape measure and calculator, you can enter a few details and get a complete layout plan within seconds.
Let’s look at how the process works.
Understanding the Basic Calculation Process
The calculator uses several measurements to create an accurate gallery wall layout.
Wall Size
The first step is entering your wall dimensions.
You need to provide:
- Wall width
- Wall height
These measurements tell the calculator how much space is available for your gallery wall.
For example, if your wall is 120 inches wide and 96 inches high, the calculator uses these dimensions as the working area for the layout.
Accurate wall measurements are important because even a few inches can affect spacing and margins.
Frame Size
Next, you enter the dimensions of your picture frames.
This includes:
- Frame width
- Frame height
If all frames are the same size, the calculation becomes very simple. The calculator uses the frame dimensions to determine how much wall space the frames will occupy.
For example, six 16-inch-wide frames will take up much more space than six 8-inch-wide frames.
Number of Frames
The calculator also needs to know how many frames you plan to hang.
In a row layout, you may have:
- 3 frames
- 5 frames
- 8 frames
In a grid layout, you may have:
- 2 rows × 3 columns
- 3 rows × 4 columns
- 4 rows × 5 columns
The total number of frames directly affects the spacing between them.
Generally, more frames mean less available space for gaps and margins.
Available Space
After collecting the wall size and frame size, the calculator determines the remaining free space.
This is known as the available space.
The formula is simple:
Available Space = Wall Size − Total Frame Size
This remaining area is then used for:
- Frame gaps
- Side margins
- Top margins
- Bottom margins
This step helps the tool create a balanced layout instead of placing frames randomly on the wall.
Gap Calculations
One of the most important jobs of a picture spacing calculator is calculating frame gaps.
A gap is the distance between two frames.
The calculator can:
- Calculate equal gaps automatically
- Allow custom spacing
- Maintain consistent spacing throughout the layout
For example, if you choose Auto Gap, the tool distributes the available space evenly between all frames.
This creates a clean and professional gallery wall.
Margin Calculations
Margins are the empty spaces around the outside of your gallery wall.
These include:
- Left margin
- Right margin
- Top margin
- Bottom margin
Many people focus only on frame spacing and forget about margins. This often makes a gallery wall look off-center.
A gallery wall spacing calculator inches automatically calculates balanced margins so the entire layout stays centered on the wall.
How to Use the Gallery Wall Spacing Calculator Step by Step
Using the gallery wall spacing calculator is quick and simple. Just enter a few measurements, choose your layout, and the tool will calculate the best frame spacing, margins, and hook positions for a balanced gallery wall.
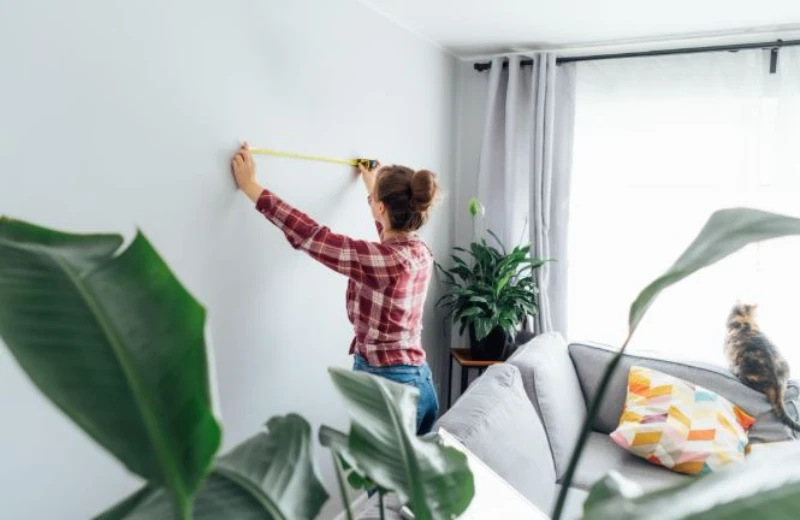
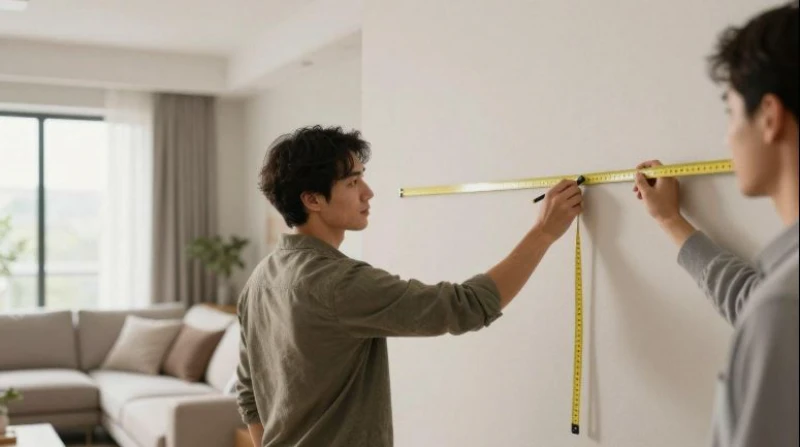
Step 1: Measure Your Wall
Start by measuring the width and height of the wall where you want to hang your pictures. Use a measuring tape and record the dimensions carefully.
The calculator supports multiple units, including:
- Inches
- Feet
- Centimeters
- Millimeters
Accurate wall measurements help the tool calculate the correct spacing and margins. Even a small measuring mistake can affect the final layout.
Example: If your wall is 120 inches wide and 96 inches high, enter those values before moving to the next step.
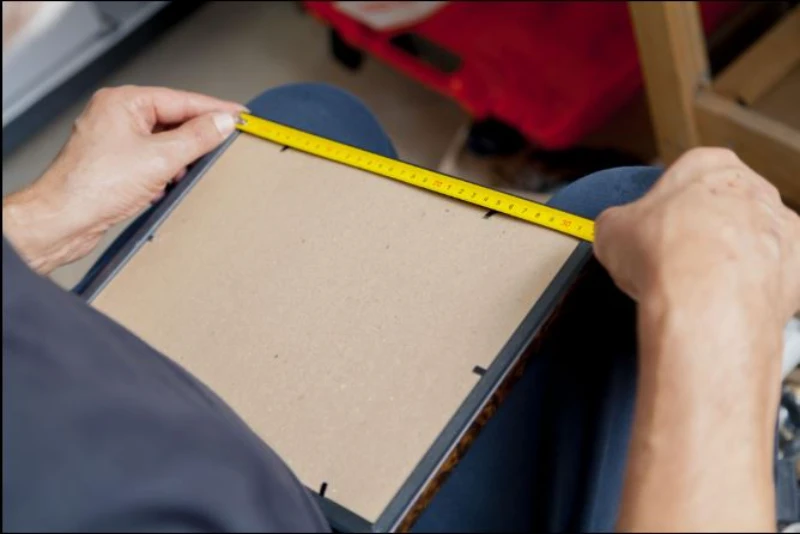
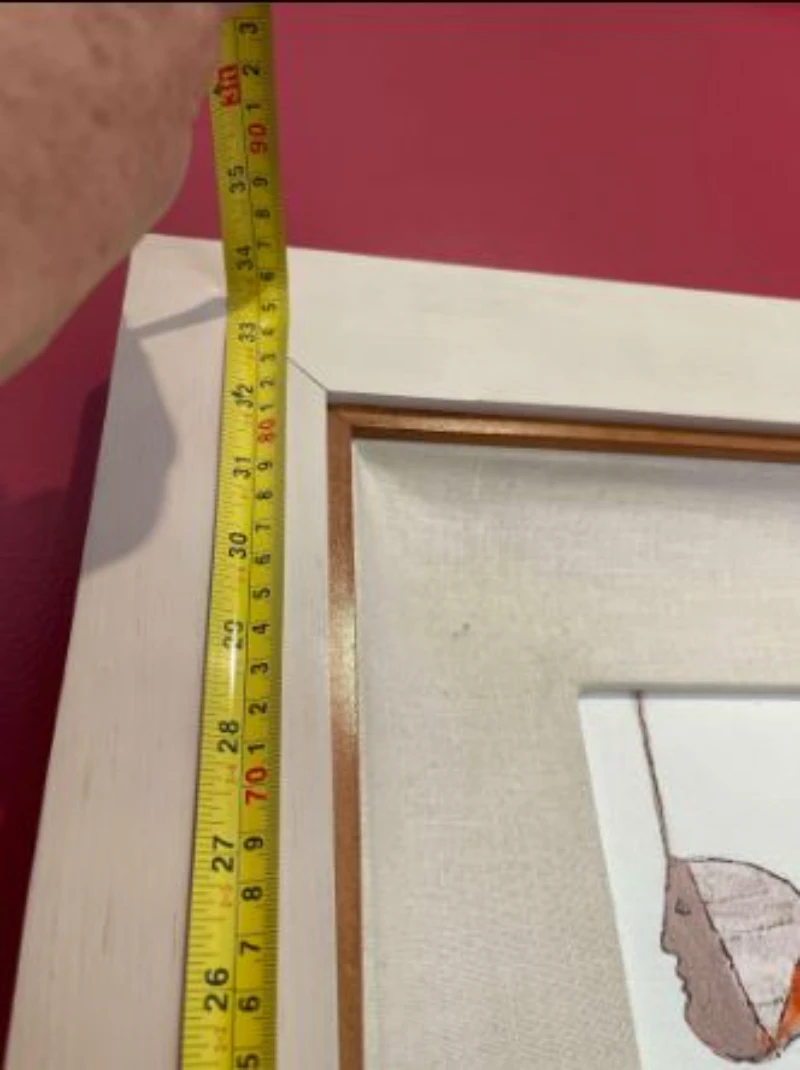
Step 2: Measure Your Frames
Next, measure the outside dimensions of each picture frame. Measure from one outer edge to the other, not just the photo inside the frame.
Enter:
- Frame width
- Frame height
If all your frames are the same size, you only need to enter the measurements once. If you plan to use different frame sizes, measure the largest frame first and adjust your layout as needed.
Tip: Measuring the frame instead of the artwork gives more accurate picture spacing on the wall.
Step 3: Select Row or Grid Layout
Now choose how you want to arrange your frames.
Row Layout
Use this option when you want to hang all frames in a single horizontal line. It works well above a sofa, bed, fireplace, or hallway.
Grid Layout
Choose this option for multiple rows and columns. A grid layout creates a clean, balanced look and works well for family photo walls or art collections.
Pick the layout that matches your available wall space and decorating style.
Step 4: Enter the Number of Frames
Tell the calculator how many frames you want to display.
For a grid layout, enter:
- Number of rows
- Number of columns
The picture spacing calculator uses this information to calculate equal spacing, balanced margins, and the correct position for every frame.
Step 5: Choose Auto Gap or Custom Gap
Now decide how much space you want between each frame.
Auto Gap
The calculator automatically finds balanced spacing based on your wall size and frame layout. This option works well for most gallery walls.
Custom Gap
Prefer a specific distance between frames? Turn off Auto Gap and enter your own spacing value.
Many homeowners choose gaps between 2 and 3 inches, but you can enter any value that matches your design.
Step 6: Review the Live Preview
As soon as you enter your measurements, the preview updates automatically.
Check that:
- Every frame fits inside the wall.
- The spacing looks even.
- The margins appear balanced.
- The layout matches your decorating plan.
This preview helps you spot problems before you drill any holes.
Step 7: Check Frame Positions and Hook Locations
This is one of the most useful features of the gallery wall spacing calculator.
The results include:
- Exact spacing between frames
- Left and right margins
- Top and bottom margins
- Frame positions
- Center hook (nail) locations
- Total wall coverage
Instead of guessing where to place each nail, simply follow the measurements provided by the calculator. This saves time and helps prevent unnecessary wall repairs.
Step 8: Save, Print, or Share Your Layout
Once you are happy with the design, keep a copy for installation.
You can:
- Save your layout for later.
- Print the measurements and take them to the wall.
- Copy the results for quick reference.
- Share your gallery wall plan with family, friends, or clients.
Having your measurements ready makes the installation process much faster and easier.
Final Tip
Before you hang the first frame, compare the calculator’s preview with your actual wall. A quick final check can help you avoid uneven spacing and extra nail holes. With the right measurements and a clear layout, you can create a professional-looking gallery wall on your first attempt.
What Happens Behind the Scenes?
When you click calculate, the tool performs several calculations in the background. The process happens instantly, but there is a lot going on behind the scenes.
How the Calculator Distributes Spacing
The calculator first measures the total space occupied by the frames.
It then subtracts that space from the wall dimensions.
The remaining space is divided evenly between the frames.
This ensures that:
- Every horizontal gap matches
- Every vertical gap matches
- The layout looks symmetrical
- Frames stay properly aligned
This is one reason why a picture spacing calculator, a free tool, is often more accurate than manual measurements.
How Margins Are Balanced
After calculating frame spacing, the tool determines how much space remains around the edges of the gallery wall.
The calculator then distributes this extra space evenly.
As a result:
- Left and right margins stay balanced
- Top and bottom margins remain proportional
- The gallery wall appears centered
Balanced margins make a huge difference. Even beautiful artwork can look awkward if the margins are uneven.
How Frame Positions Are Generated
The final step is generating exact frame positions.
The calculator determines:
- Where each frame begins
- Where each frame ends
- The center point of each frame
- Hook or nail locations
These measurements help users place frames accurately on the wall.
For example, instead of guessing where Frame 4 should hang, the calculator may show that its center hook should be placed exactly 72 inches from the left side of the wall.
This feature makes installation much easier and reduces measuring errors.
The result is a clear layout plan with precise spacing, balanced margins, and accurate frame positions. That is why many homeowners and decorators prefer to use an online gallery wall spacing calculator rather than calculate everything by hand.
Information You Need Before Using the Calculator
Before you use the gallery wall spacing calculator, collect a few measurements first. This step helps the tool create an accurate layout for your wall.
Wall Measurements:
Start by measuring your wall.
Wall Width
Measure the usable width of the wall from left to right.
Example: If your wall is 120 inches wide, enter 120 in the calculator.
Wall Height
Measure the usable height from top to bottom.
Example: If your wall is 96 inches high, enter 96.
Why Accurate Measurements Matter
Many people guess these numbers. That often creates uneven gaps and off-center frames.
Accurate measurements help the picture spacing calculator:
- Center the gallery wall.
- Calculate equal spacing.
- Create balanced margins.
- Show correct hook positions.
Quick Tip: Use a tape measure and write down the numbers before you start.
Frame Measurements
Next, measure your picture frames.
Frame Width
Measure the frame from one outer edge to the other.
Frame Height
Measure the frame from the top outer edge to the bottom outer edge.
Measuring Frames Correctly
Measure the outside of the frame, not the photo inside it.
For example:
- Photo size: 8 × 10 inches
- Frame size: 11 × 14 inches
Enter 11 × 14 because the frame takes up that much wall space.
This is one thing that many people overlook. The frame size affects the spacing on the wall.
Layout Style
Now choose how you want to arrange your frames.
Single Row Layout
Use this option when you want frames in one horizontal line.
This works well for:
- Above a sofa
- Hallways
- Bed headboards
Multi-Row Gallery Wall Grid
Use this option when you want several rows and columns.
This style creates a classic gallery wall layout.
It works well for:
- Living rooms
- Stairways
- Home offices
- Photo walls
Choosing the Right Arrangement
Ask yourself:
- Do I have a long, narrow wall?
- Do I want a full photo wall?
- Are my frames the same size?
- Do I want a modern grid look?
Simple Rule:
- Single row: Best for 2–5 frames on a wide wall.
- Grid layout: Best for larger collections and balanced gallery walls.
Once you have these measurements, the gallery wall spacing calculator online can calculate the gaps, margins, and frame positions automatically. This saves time and helps you avoid extra holes in the wall.
Required Inputs: What You Must Enter
The gallery wall spacing calculator only needs a few simple measurements to create a balanced picture wall. Most users can complete these steps in just a few minutes.
Wall Dimensions
Your wall size is the starting point for every calculation. The calculator uses this information to find the available space for your picture frames.
Wall Width
Measure the wall from the left edge to the right edge. Use a measuring tape and record the full width.
For example, if your wall is 96 inches wide, enter 96 as the wall width.
Wall Height
Next, measure the wall from the floor to the ceiling or to the area where you plan to hang your gallery wall.
This measurement helps the calculator place the frames evenly from top to bottom. It also creates balanced margins around your artwork.
Tip: Measure only the space you plan to decorate instead of the entire wall.
Frame Dimensions
Now enter the size of one picture frame. The calculator uses these values to determine how much space each frame will occupy.
Frame Width
Measure the frame from one side to the other. Include the outer edge of the frame, not just the photo inside.
Frame Height
Measure the frame from the top edge to the bottom edge.
If all your frames have the same size, enter the measurements once. If you plan to use different frame sizes, measure each one carefully before creating your layout.
Number of Columns and Rows
Next, choose how many frames you want in your gallery wall.
- Columns: show how many frames appear across the wall.
- Rows: show how many frames appear from top to bottom.
For example:
- 3 columns × 2 rows = 6 frames
- 4 columns × 3 rows = 12 frames
The number of frames directly affects the spacing. More frames leave less empty wall space, while fewer frames create wider gaps and larger margins.
If you only want one horizontal line of pictures, simply choose 1 row.
Choose Your Unit of Measurement
The calculator supports multiple measurement units. Pick the one you already use at home. There is no need to convert your measurements manually.
You can choose:
- Inches (in) – The most common choice for homes in the USA.
- Centimeters (cm) – A good option if your tape measure uses metric units.
- Millimeters (mm) – Best for projects that need very precise measurements.
- Feet (ft) – Helpful when measuring large walls quickly.
No matter which unit you select, the picture spacing calculator keeps every measurement consistent throughout the layout. This makes it easy to plan your gallery wall without worrying about conversion errors.
Optional Settings for Better Customization
Before you hang your frames, you can adjust a few optional settings to match your room, wall size, and decorating style. These options are not required, but they give you more control over your final gallery wall layout.
Auto Gap Option
The Auto Gap feature calculates equal spacing between all frames automatically. You only need to enter your wall size, frame size, and layout. The gallery wall spacing calculator then finds the best gap based on the available space.
This option works well if you want a clean, balanced look without doing any manual calculations.
Use Auto Gap when:
- You want evenly spaced picture frames.
- You are creating your first gallery wall.
- You want to save time.
- You are unsure which spacing looks best.
Example: If you arrange six frames on a large living room wall, Auto Gap spreads them evenly across the available space. This creates a neat and professional appearance.
Manual Gap Option
If you already know the spacing you want, you can enter it yourself. The calculator will use your chosen gap instead of creating one automatically.
This option is useful when you want your gallery wall to match an existing design or follow a specific decorating style.
Ideal Picture Frame Spacing
Although every wall is different, these spacing ranges work well for most homes.
- 1.5–2 inches: Best for small photo frames.
- 2–3 inches: A popular choice for most gallery walls.
- 3–4 inches: Suitable for large artwork or oversized frames.
Keeping the same gap between every frame makes the wall look more organized. Random spacing often makes even expensive artwork look untidy.
Custom Margins
Margins are the empty spaces around the outside of your gallery wall. Good margins help keep the entire layout centered instead of pushing it too close to the ceiling or the edges of the wall.
The picture spacing calculator lets you adjust each margin separately.
Top Margin
This is the space between the top of your gallery wall and the ceiling or upper part of the wall.
Use a larger top margin if you want more open space above the frames.
Bottom Margin
The bottom margin is the space between the lowest frame and the floor, furniture, or shelf below it.
Make sure there is enough room if your gallery wall hangs above a sofa, console table, or fireplace.
Left Margin
The left margin controls the distance from the left edge of the wall to your first frame.
Adjust it if your wall has a window, door, or corner nearby.
Right Margin
The right margin controls the space on the opposite side of the gallery wall.
Keeping the left and right margins balanced usually creates a more symmetrical and attractive layout.
Display Preferences
The calculator also includes several display options that make planning easier. These settings only change what you see in the preview. They do not change your measurements.
Show Frame Numbers
Turn on frame numbers to identify each frame quickly. This feature is especially helpful when you have many frames in a grid layout.
Show Nail Points
Enable nail points to see the exact hook location for every frame. This makes installation easier and reduces measuring mistakes.
Show Measurements
Display measurements directly on the preview to see gaps, margins, and frame positions without switching between sections.
Show Margins
Highlight the top, bottom, left, and right margins on the preview. This helps you check whether your gallery wall is centered before you start drilling holes.
Tip: If you are using a gallery wall spacing calculator online for the first time, start with Auto Gap and keep all display options turned on. You can review the complete layout, check the measurements, and make changes before hanging your frames. This simple step can save time and help you avoid unnecessary holes in your wall.
Key Features of the Gallery Wall Spacing Calculator
Automatic Frame Spacing Calculation
- Creates equal spacing between frames
- Eliminates guesswork
Gallery Wall Layout Planner
- Supports row and grid layouts
- Handles multiple frame arrangements
Live Visual Preview
- Real-time layout updates
- See the design before hanging frames
Exact Nail and Hook Placement Guide
- Displays hanging points
- Reduces measuring errors
Margin Calculation System
- Balanced spacing around the gallery wall
- Professional-looking layouts
Multiple Unit Support
- Inches
- CM
- MM
- Feet
Coverage Percentage Calculator
- Shows how much wall space is used
- Helps avoid overcrowding
Frame Position Table
- Left edge measurements
- Center hook locations
- Easy installation reference
Save, Load, Share, and Print Features
- Save projects
- Share layouts
- Print measurement guides
Why Proper Picture Spacing on the Wall Matters
Before you hang any picture frames, one thing deserves your attention: spacing. Many people focus on choosing beautiful frames but forget that the space between them plays an equally important role. Even expensive artwork can look untidy if the gaps are uneven.
Proper picture spacing on the wall creates a clean layout, makes hanging easier, and helps your gallery wall look well planned instead of random.
Better Visual Balance
Even spacing makes your gallery wall look neat and organized. Equal gaps help every frame work together as one display. A gallery wall spacing calculator creates balanced spacing without manual guesswork.
Professional Appearance
Consistent frame spacing gives your wall a clean, designer-style finish. Instead of uneven gaps, every picture aligns neatly. A picture spacing calculator helps create a polished and attractive display.
Easier Installation
A planned layout saves time and reduces mistakes. You know exactly where each frame should go before drilling holes. This makes hanging pictures faster, simpler, and more accurate.
Improved Wall Coverage
Good spacing uses your wall space wisely without making it look crowded or empty. A gallery wall spacing calculator online helps spread frames evenly for a balanced and visually pleasing arrangement.
Once your gallery wall is complete, you can explore more traditional wall decor ideas to add warmth, character, and timeless style to your living space. These ideas can help you create a home that feels both elegant and welcoming.
Why Proper Picture Spacing on the Wall Matters
Good picture spacing on the wall does more than make your frames look neat. It creates a balanced layout, makes installation easier, and helps your artwork fit the available wall space without looking crowded.
Better Visual Balance
Even spacing keeps every frame aligned and easy to view. Your gallery wall looks clean instead of cluttered. A picture spacing calculator helps create a balanced layout without guessing the distance between frames.
Professional Appearance
Equal gaps give your wall a polished and organized look. Family photos, artwork, or posters appear thoughtfully arranged. Small spacing mistakes can make an entire gallery wall look uneven and unfinished.
Easier Installation
A planned layout saves time during installation. You know where each frame belongs before drilling holes. This reduces measuring mistakes and helps you hang every picture in the correct position.
Improved Wall Coverage
Proper spacing uses your wall space wisely. Frames fill the area without looking too close or too far apart. A gallery wall spacing calculator helps create a layout that looks balanced from every angle.
After planning your gallery wall, you can make it look even more elegant with creative decorative wall trim ideas. These simple design ideas add depth, style, and a polished finish to any room.
Frequently Asked Questions
What is the ideal spacing between picture frames?
Most designers recommend 2–3 inches between picture frames. This spacing creates a clean, balanced look. A gallery wall spacing calculator helps you choose the right gap for any frame size.
Can I use different measurement units?
Yes. The calculator supports inches, feet, centimeters, and millimeters. You can choose the unit you prefer, making it easy to plan your picture wall without extra conversions.
Is the gallery wall spacing calculator free?
Yes. Our gallery wall spacing calculator free tool lets you plan frame layouts, calculate spacing, and view measurements without paying or creating an account.
How many frames can the calculator handle?
The calculator supports layouts with up to 72 frames in a 12 × 6 grid. It works well for small gallery walls and large picture wall projects.
Can I create multi-row gallery wall layouts?
Yes. You can create single-row or multi-row grid layouts. Simply choose your preferred layout, enter your frame details, and the calculator arranges the spacing automatically.
Does the calculator show hook positions?
Yes. The tool displays exact hook positions for every frame. This feature helps you measure accurately and hang pictures with fewer mistakes.
Can I save and print my gallery wall design?
Yes. You can save, print, copy, or share your gallery wall layout. This makes it easy to keep your measurements while decorating your home.
Is the calculator mobile-friendly?
Yes. The gallery wall spacing calculator online works smoothly on desktops, tablets, and smartphones. You can measure and plan your gallery wall from almost any device.
Final Thoughts
Before you hang any frames, take a few minutes to plan your layout. A gallery wall spacing calculator helps you choose the right spacing, margins, and frame positions. This simple step saves time, prevents unnecessary wall holes, and creates a clean, professional-looking gallery wall.


- Be Respectful
- Stay Relevant
- Stay Positive
- True Feedback
- Encourage Discussion
- Avoid Spamming
- No Fake News
- Don't Copy-Paste
- No Personal Attacks
- Be Respectful
- Stay Relevant
- Stay Positive
- True Feedback
- Encourage Discussion
- Avoid Spamming
- No Fake News
- Don't Copy-Paste
- No Personal Attacks
