How to Create Stunning Pressed Flower Art for Your Home Decor
Published: 11 Feb 2025
Imagine turning delicate flowers into stunning home décor pieces that last forever! Pressed flower art is a simple yet beautiful way to bring nature indoors. If you frame them, stick them on canvas, or create glass art, this DIY project is perfect for beginners.
It is affordable, easy to do, and lets you customize designs to match your style. In this guide, you will learn how to make pressed flower art in glass, frame your designs, and explore creative dried flower art ideas.
Getting Started with Pressed Flower Art
Pressed flower art is a creative way to use dried flowers in home decor. It involves pressing and preserving flowers to create stunning artwork. You can use it to design framed art, glass decorations, canvas paintings, and handmade gifts. This simple, affordable DIY craft adds a natural, elegant touch to any space.
What is Pressed Flower Art?
Pressed flower art is drying and flattening flowers to use them in artwork. This method has been popular for centuries and is still loved today. Pressed flowers can make beautiful wall frames, greeting cards, bookmarks, coasters, and even glass or resin art. It’s a fun and easy way to bring nature indoors while preserving flowers for a long time.
Some common ways to use pressed flower art for home decor include:
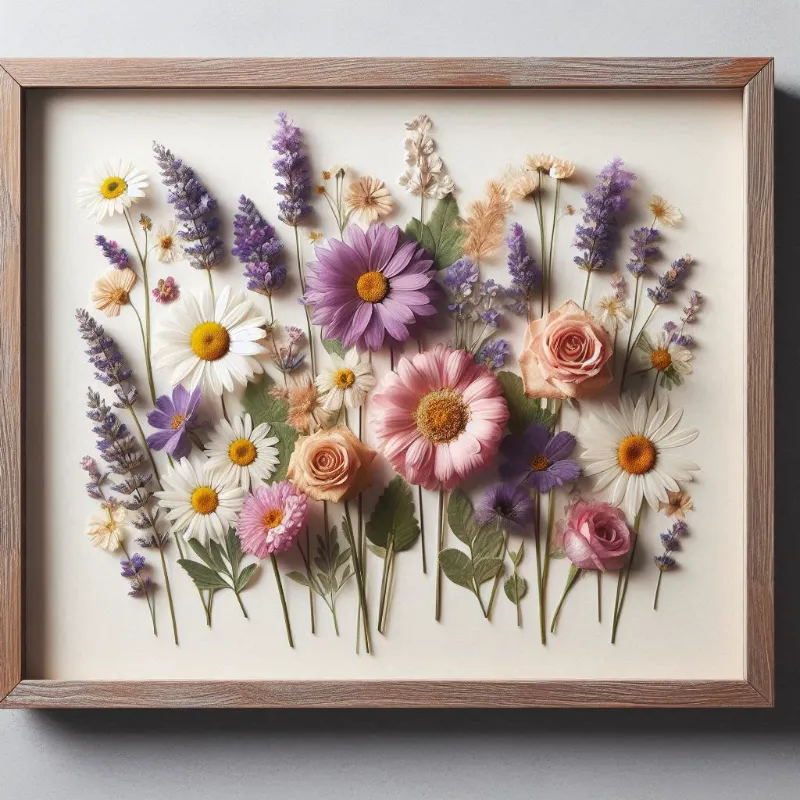
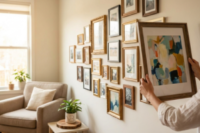
- Framed pressed flower art: Arrange dried flowers on paper and place them in a glass frame.
- Pressed flower art on canvas: Stick and seal flowers onto a canvas for a unique texture.
- Glass-pressed flower art: Place flowers between two glass sheets for an elegant floating effect.
- Dried flower art ideas: Use flowers in scrapbooks, bookmarks, or handmade gifts.
Materials You Need
Before starting, gather the right materials. Here’s what you need for DIY pressed flower art:
Pressed Flowers: You can buy ready-made pressed flowers or dry your own using books or a flower press. Flowers like daisies, roses, and lavender work best.
Best Glue for Pressed Flowers on Paper: Use Mod Podge, clear-drying craft glue, or white glue mixed with water to avoid wrinkles.
Base Materials: Choose where you want to apply your pressed flowers. Some great options are:
- Glass frames for an elegant, modern touch.
- Canvas for textured wall art.
- Resin moulds to make coasters or jewellery.
Tools & Sealants: To handle flowers without damage, use:
- Tweezers for careful placement.
- Soft brushes to apply glue evenly.
- Sealant spray or Mod Podge to protect and preserve your artwork.
With these materials, you can start your pressed flower art DIY project and create something beautiful for your home.
How to Make Pressed Flower Art at Home
Creating pressed flower art is a fun and easy DIY project. You can use flowers to decorate paper, canvas, or even glass. Follow this simple step-by-step guide to make beautiful floral designs.
Step-by-Step Guide for Beginners
1. Choosing the Right Flowers
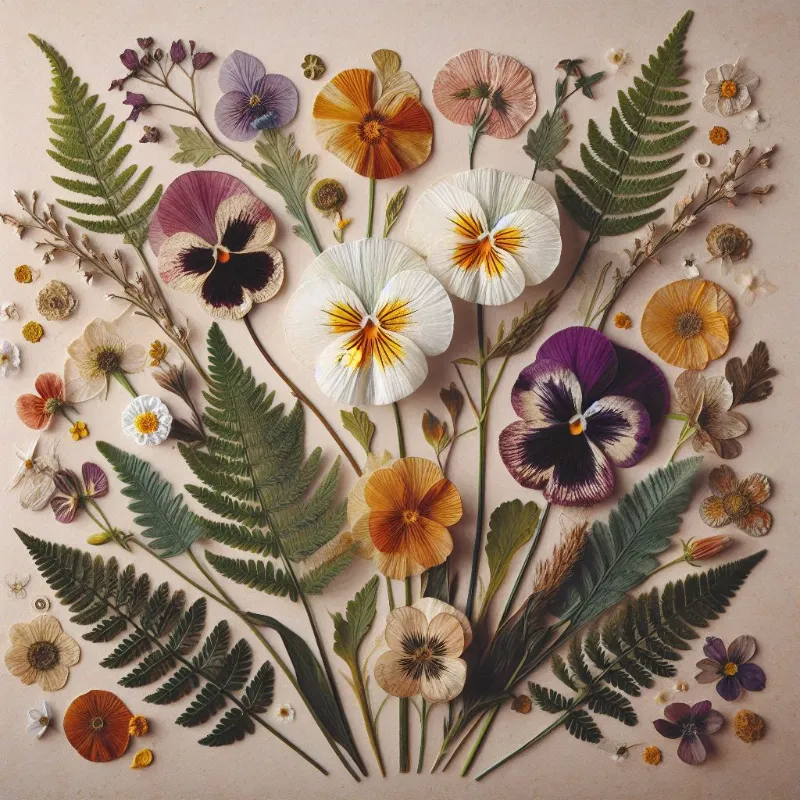
Not all flowers press well. Choose flat flowers like pansies, daisies, or ferns. Thick flowers take longer to dry and may not press evenly.
Drying Techniques:
Air-drying: Let flowers dry naturally for a few days.
Silica Gel: Use silica gel to dry flowers while keeping their colour.
2. Pressing Flowers Properly
You can press flowers using different methods:
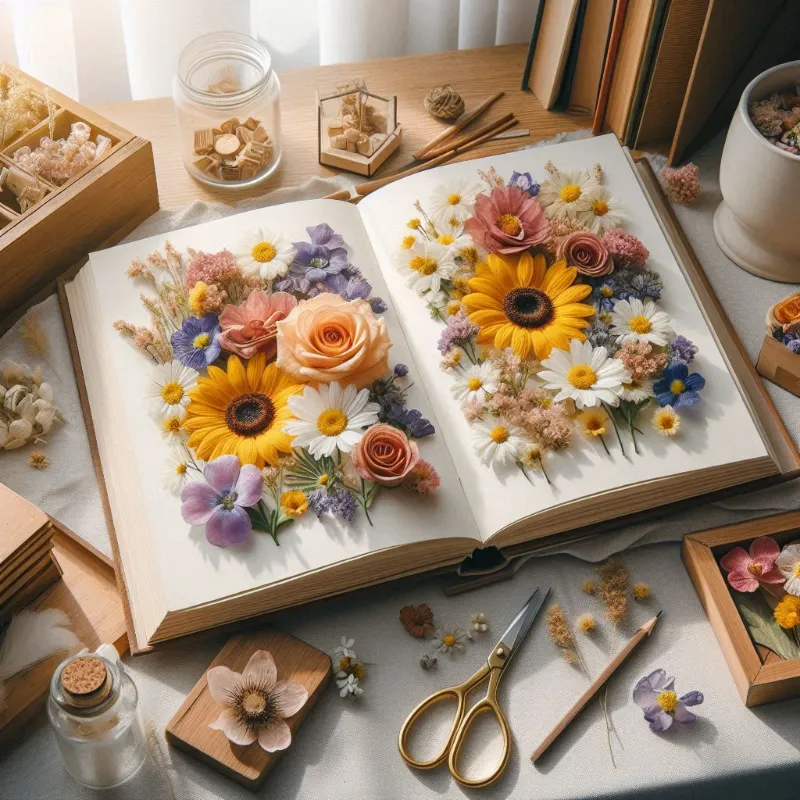
Book Method: Place flowers between two sheets of paper inside a heavy book. Leave them for 1-2 weeks.
Microwave Pressing: Place flowers between paper and microwave them for 30 seconds at low power. Repeat if needed.
3. Arranging Your Design
Before gluing, place the flowers on paper, canvas, or glass to plan the design. Arrange them in a way that looks natural and balanced.
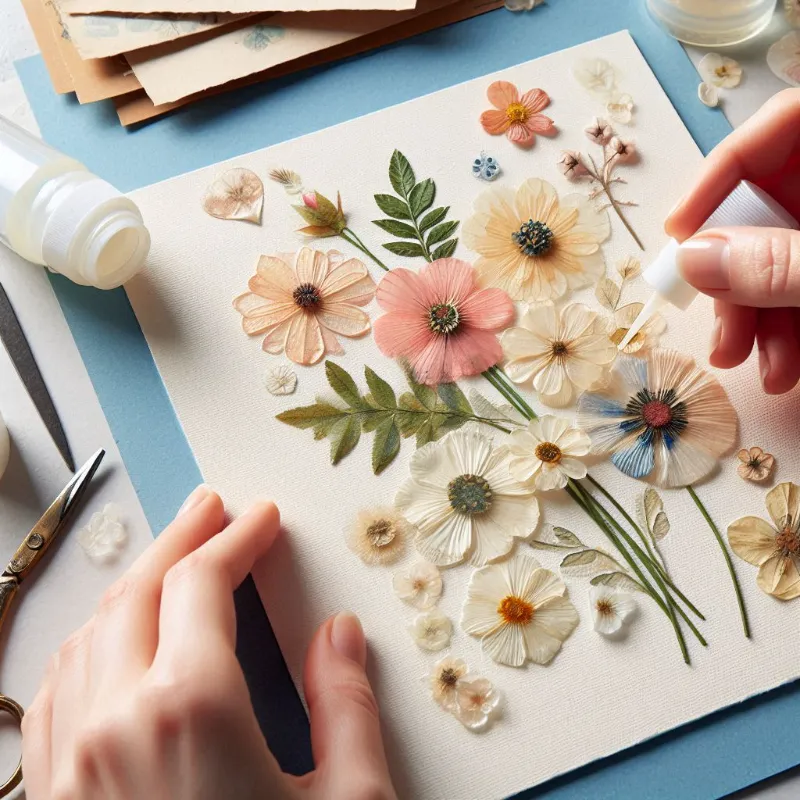
4. Gluing the Flowers
The best glue for pressed flowers depends on the surface:
For Paper & Canvas: Use clear-drying glue or Mod Podge.
For Glass: Use a thin layer of craft glue to prevent air bubbles.
Use tweezers to place flowers carefully, avoiding damage.
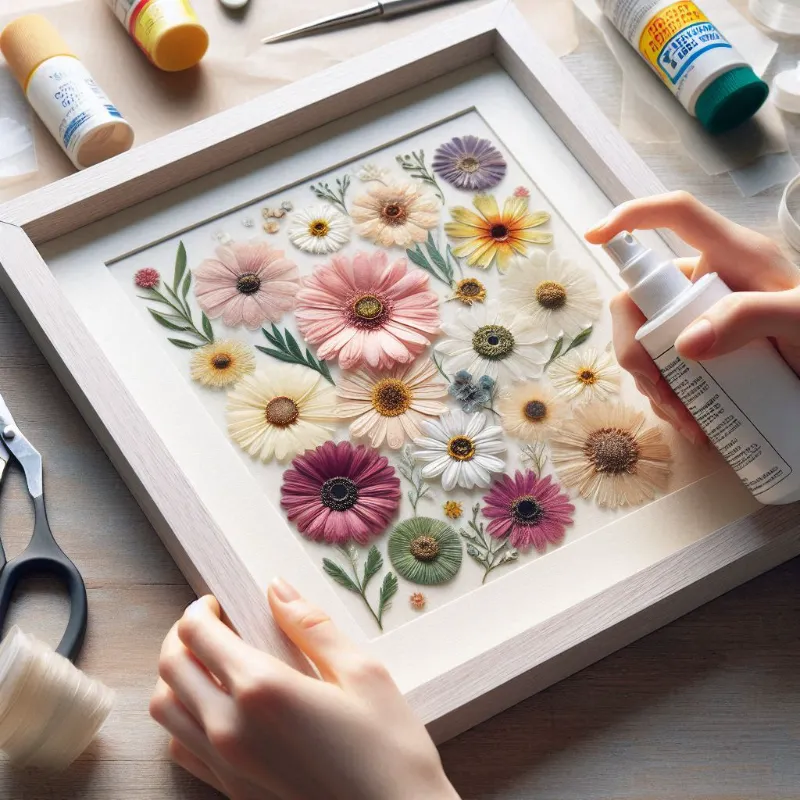
5. Sealing and Framing
To make your pressed flower art last, seal it with Mod Podge or a clear acrylic spray. Let it dry fully before framing.
Pressed Flower Art in Glass
Pressed flowers look stunning in glass frames. Here’s how to make one:
- Place pressed flowers on one glass piece and arrange them.
- Use a small amount of clear glue to stick them.
- Place another glass piece on top and secure it in a frame.
Safety Tip: Handle glass carefully and wear gloves if needed.
Pressed Flower Art on Canvas
Pressed flowers on canvas give a natural, artistic feel.
- Apply a thin layer of glue on the canvas.
- Place flowers gently and press them down.
- Seal with a clear varnish or Mod Podge to protect the artwork.
Best Glue for Pressed Flowers on Canvas: Use a strong adhesive like craft glue or Mod Podge for a lasting finish.
DIY Dried Flower Art Ideas
Pressed flowers can be used in many creative ways:
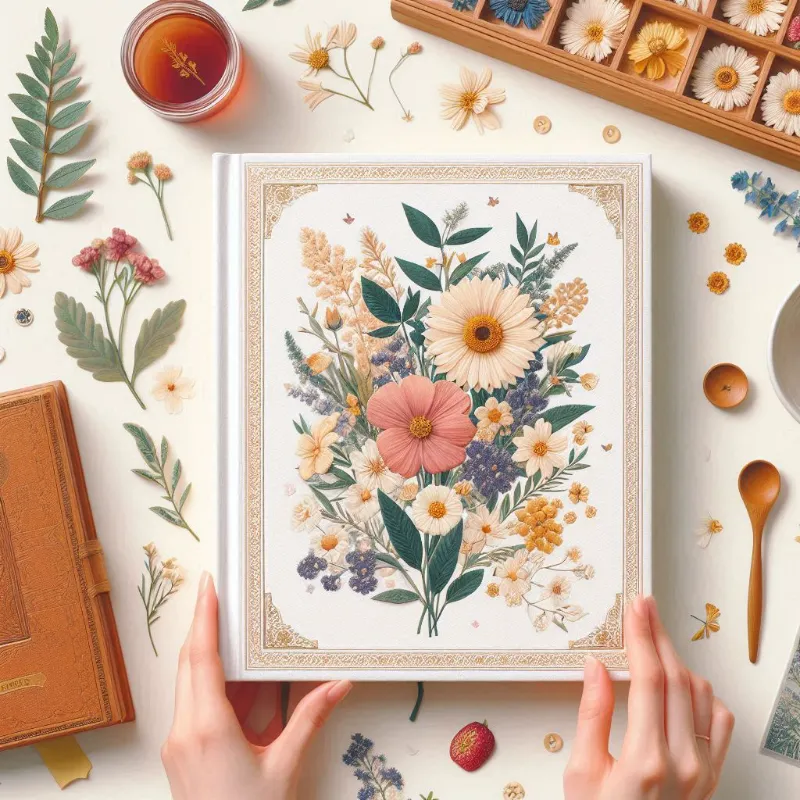
Greeting Cards: Add flowers to handmade cards for a unique touch.
Bookmarks: Laminate pressed flowers to create beautiful bookmarks.
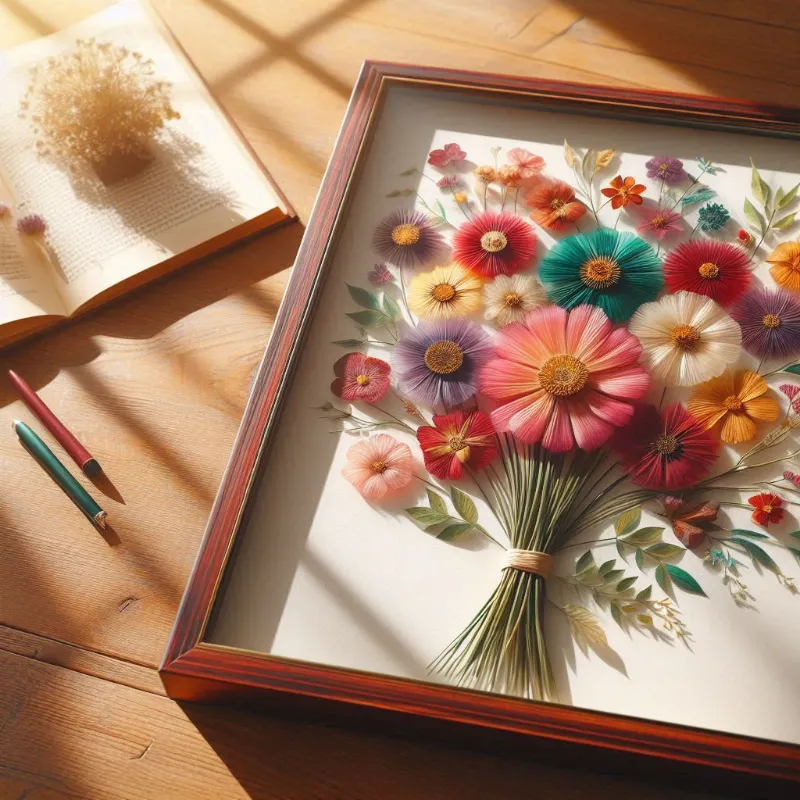
Wall Hangings: Frame your flower art and hang it in your home.
Coasters: Seal-pressed flowers in resin for unique coasters.
Personalized Gifts: Create floral art for special occasions like birthdays or weddings.
Pressed flower art is an easy and beautiful way to decorate your home. Try these ideas and add a natural touch to your space.
Tips and Tricks for Perfect Pressed Flower Art
Creating beautiful pressed flower art is easy, but simple tricks can make it last longer and look more professional. Here are some helpful tips to get the best results.
1. How to Prevent Flowers from Fading Over Time
Pressed flowers can lose their colour if not appropriately handled. Here’s how to keep them vibrant:
- Use fresh, colourful flowers: Darker flowers like roses and violets retain colour better.
- Keep them away from sunlight: Direct light can cause fading, so display your art in shaded areas.
- Seal them properly: Use Mod Podge, resin, or clear spray sealant to protect against air and moisture.
2. Best Ways to Arrange Flowers for Aesthetic Appeal
A well-arranged design makes your pressed flower art on canvas, glass, or paper look stunning. Try these tips:
- Follow a pattern: Arrange flowers in a balanced way to create harmony.
- Use different shapes and sizes: Mix small and large flowers for a natural look.
- Add greenery or stems; Leaves and thin stems add texture and depth.
3. Mistakes to Avoid When Using Glue or Resin
Using the wrong glue or too much resin can ruin your dried flower art. Avoid these mistakes:
- Don’t use too much glue: Apply a thin layer to prevent smudges.
- Choose the best glue for pressed flowers on paper: Mod Podge or clear craft glue works best.
- Let the glue dry fully before sealing: This prevents flowers from shifting.
By following these pressed flower art ideas and tips, your artwork will stay beautiful and long-lasting.
Conclusion
Pressed flower art is a simple and fun way to decorate your home. Many creative ideas exist, like framed designs, canvas art, and glass decorations. This DIY project is not just easy but also relaxing. You can mix different colours, shapes, and styles to create something unique. It’s affordable and adds a natural touch to any space. So, grab some flowers and start your beautiful pressed flower art today.
FAQs on Pressed Flower Art
Pressed flowers can last several years if stored properly. Keep them away from direct sunlight, moisture, and heat to prevent fading. Sealing them with Mod Podge or clear spray helps preserve their colour and shape.
The best way to seal pressed flower art is by using clear-drying glue, Mod Podge, or resin. For paper-based art, apply a thin layer of glue or decoupage sealer. If using glass or canvas, a UV-resistant spray works well to protect colours.
Fresh flowers contain moisture and may rot or mold if used directly in the artwork. It’s best to press them first using a book or a flower press for long-lasting results. Use resin to preserve their natural shape if you want a fresh look.
Use a thin layer of clear craft glue or Mod Podge to attach pressed flowers. Apply glue sparingly and press the flower gently with tweezers to avoid air bubbles. Let it dry completely before sealing to keep it smooth and wrinkle-free.


- Be Respectful
- Stay Relevant
- Stay Positive
- True Feedback
- Encourage Discussion
- Avoid Spamming
- No Fake News
- Don't Copy-Paste
- No Personal Attacks
- Be Respectful
- Stay Relevant
- Stay Positive
- True Feedback
- Encourage Discussion
- Avoid Spamming
- No Fake News
- Don't Copy-Paste
- No Personal Attacks
